skip to main |
skip to sidebar
To continue with frosting recipes, here it is at last the infamous Peanut Butter Buttercream.
This frosting I started making for chocolate cupcakes and it has been a hit ever since. It was also the frosting that I used to fill the bottom layer of the wedding cake.
There are actually two different versions of this frosting. One version uses heavy cream and thusly needs to be refrigerated for storage. The other version is more of a traditional buttercream and you don't have to worry about it being left out on a table if you are having a party and it is warm outside.
Traditional Buttercream Type of frosting -
This tends to be a bit heavier of a frosting.

Ingredients:
- 1 stick butter (room temperature)
- 3/4 C of creamy peanut butter (room temperature - I use Skippy)
- 1 t vanilla
- 3 C powdered sugar (sifted if you are worried about lumps)
- splash of milk
- pinch of salt
In the bowl of your stand mixer with your whisk attachment, cream together the butter and peanut butter. Add the vanilla and one cup of powdered sugar and a pinch of salt. Add the powdered sugar one cup at a time add a splash of milk to help the frosting come together. Once you have added all the powdered sugar mix the frosting on medium speed for 1-2 minutes.
If you need a thinner frosting for piping or a crumb coat you can add more milk or water to reach the consistency that you need.


I have used this frosting on several of the cupcakes I have made lately since it is so easy to do (at least in my version) and I love the light fluffy texture that it has.
If you search the internet for Seven Minute Frosting you will get a ton of different recipes that people have come up with, many of which require that you do things like whip egg whites using a hand mixer over a double boiler while ensuring that they are at a specific temperature. Well let me tell you I tried this method and unless I spontaneously grow two more arms it is virtually impossible to actually do all the things required at the same time. Or hey it might just be that I am not coordinated enough.
So I figured there had to be a better way.
Ingredients:
- 1 1/2 C sugar
- 2 T corn syrup
- 6 egg whites (I use large eggs)
- 1 T flavor extract (vanilla or anything else you desire)
- 1/4 C water
In your stand mixer, beat egg whites until they form soft peaks. Then add 1/2 C sugar and beat to stiff peaks. I start my mixer running and move on to the next step and just watch the egg whites so I don't overbeat them.
In a small saucepan over medium high heat, combine 1 C sugar, corn syrup, water and flavor extract. Heat to about 225-230 degrees, stirring so you don't burn it.
Usually just as my sugar is getting to the right temperature my egg whites are at stiff peaks. With your mixer set at about medium speed, pour the hot sugar mixture down the side of your mixer bowl, and turn the mixer up to medium/high. Beat the frosting till it is glossy and cool (about 7 minutes).
Then fill a pastry bag or ziplock bag with frosting and pipe onto the top of your cupcakes.
This frosting can be torched or placed under a broiler to be caramelized a bit, like in the s'mores cupcake post. Or just used as is, like I did on the tequila sunrise cupcakes.
An art post ... indeed this blog does actually have art in it as well as cupcakes and baking adventures.
My baby cousin (really my cousin's son - I'm not sure what the term would be for him but I call him cousin) went to his first day of kindergarten this week. And after school he called me to see if I would draw him a dragon that he could color in and glitter.So instead of going out to lunch as planned I got out my trusty number two pencil and some white printer paper (clearly not any fancy art supplies for me) and set down to draw a happy dragon. If I had been at home I might have actually used the digital tablet that I bought ages ago and I haven't used in a while.
 Here is the original sketch, I didn't worry to much about cleaning up messy edges and such. Now since this project was to be colored in and glittered I blew it up on the office copier and then pasted it to some poster board so that it would hold up to all the glue and glitter to come.
And here is the finished project.

Those are some serious glitter skills. Way to go Jack :)
and so, although I did make some yummy and quite pretty tequila sunrise cupcakes there is no photographic proof of such.
On the plus side, since I made cupcakes my little brother is at this very moment cleaning my kitchen :) I'll call it a win.
So this was somewhat of a 'cheater' recipe as I used a white cake mix as a base and then altered it since I was short on time and measuring ingredients didn't fit into my schedule.
Here is the recipe:
- One box of white cake mix
- 3 eggs - yes whole eggs (I didn't need the cake to actually be white)
- 3/4 C tequila
- 3/4 C water
- 1/4 C vegetable oil
- 1 splash of orange flavoring
- 1 splash of cherry flavoring
Preheat oven to 350 degrees. In the bowl of your stand mixer, mix together cake mix, eggs, tequila, water and oil. Mix for 2 minutes until batter is fluffy. Divide batter 1/4 in a small bowl and leave 3/4 in the bowl. Stir in cherry flavoring to the small bowl and add a drop or two of red food coloring. Stir in orange flavoring to the larger bowl of batter.
Spoon red cherry flavored batter into the bottom of the cupcake liners (just enough to cover the bottom of the liner) top with orange flavored batter to fill to 2/3 full.
Bake for 16-18 minutes.
While those are baking make 7-minute frosting (see next post for recipe) and frost once they are cool.
This post will be fairly short as I didn't take a lot of pictures. I used the Classic White Cake recipe from Wilton and baked two 10" layers.
This cake is fairly dense for a white cake which works well for a stacked tiered cake as it is able to support the weight of the next layer, unlike some fluffy light white cake recipes which tend to sink when heavier tiers are place on top of them.
I filled this tier with lemon curd. The trick to using a fruit or curd filling in a cake is to make a fairly stiff buttercream frosting and make a circle of frosting around the edge of the cake to hold the filling in.
 Take note that my cake did not look perfect at this point. It had cracked on the top of the cake but since it then became the middle of the cake it wouldn't show, and it would just let more of the lemony goodness in.

This cake was a hit, the perfect sweetness of the white cake married with the tartness of the lemon curd.
And now to the actual cake. Two of the cake tiers were chocolate cake and I used the same recipe for both. I adapted the chocolate fudge grooms cake recipe available on the Wilton website in order to make enough to fill the two 12" cake pans. And then used the recipe as written for the two 8" cake pans.Now I have a basic chocolate cake recipe that I typically use for all my chocolate cake needs but when I attempted to upsize it to fill a 12" pan it turned out dry around the edges by the time the middle baked. Which led to to searching out the Wilton recipe. First I combined the flour, baking soda, baking powder, and salt in a bowl and whisked it together. This aerates the flour and combines the ingredients, I tend to do this rather than sifting all the flour.
 In a stand mixer, I creamed the butter and sugar together. Then added eggs, vanilla and then alternated adding the milk and the flour mixture, till I had a typical looking cake batter.
 Now to the chocolate. The recipe calls for unsweetened chocolate, but generally the baking chocolate that you get at the grocery store is not of the highest quality. So I buy dark chocolate in bulk from Whole Foods since they are the most reasonably priced place to buy chocolate by the pound. If you don't have a Whole Foods store nearby you could check other specialty stores or a cake supply store. I chop the chocolate and then melt in the microwave in short bursts of 15 seconds, stirring in between.

Then add the melted chocolate to the cake batter and mix for a couple minutes until the chocolate is fully incorporated. I split the batter into the two pans; I poured the batter into the pans till they looked even and then weighed each of the pans to make sure they contained equal amounts of batter. (This is helpful as you can make sure your baked layers are even for splitting.) I baked the layers at 325 degrees for about 50 minutes and then let them cool. Once cool, I split each layer in half and poured a little simple syrup on them to keep them moist.
 And now its time to frost. I filled this tier with peanut-butter buttercream (recipe to follow in another blog post) and stacked.
 And filled and stacked...
 And once I had completed all 4 layers, I chilled the cake and crumb coated (iced) the whole tier with vanilla buttecream. While practicing this cake I attempted to use the peanut butter icing for the crumb coat and icing, but you could see the pale tan icing underneath the white fondant.
 I then covered the cake with fondant and painted the fondant with a pearl colored luster dust. Sorry for the lack of pictures, I got a little rushed and forgot to take pictures of that step.
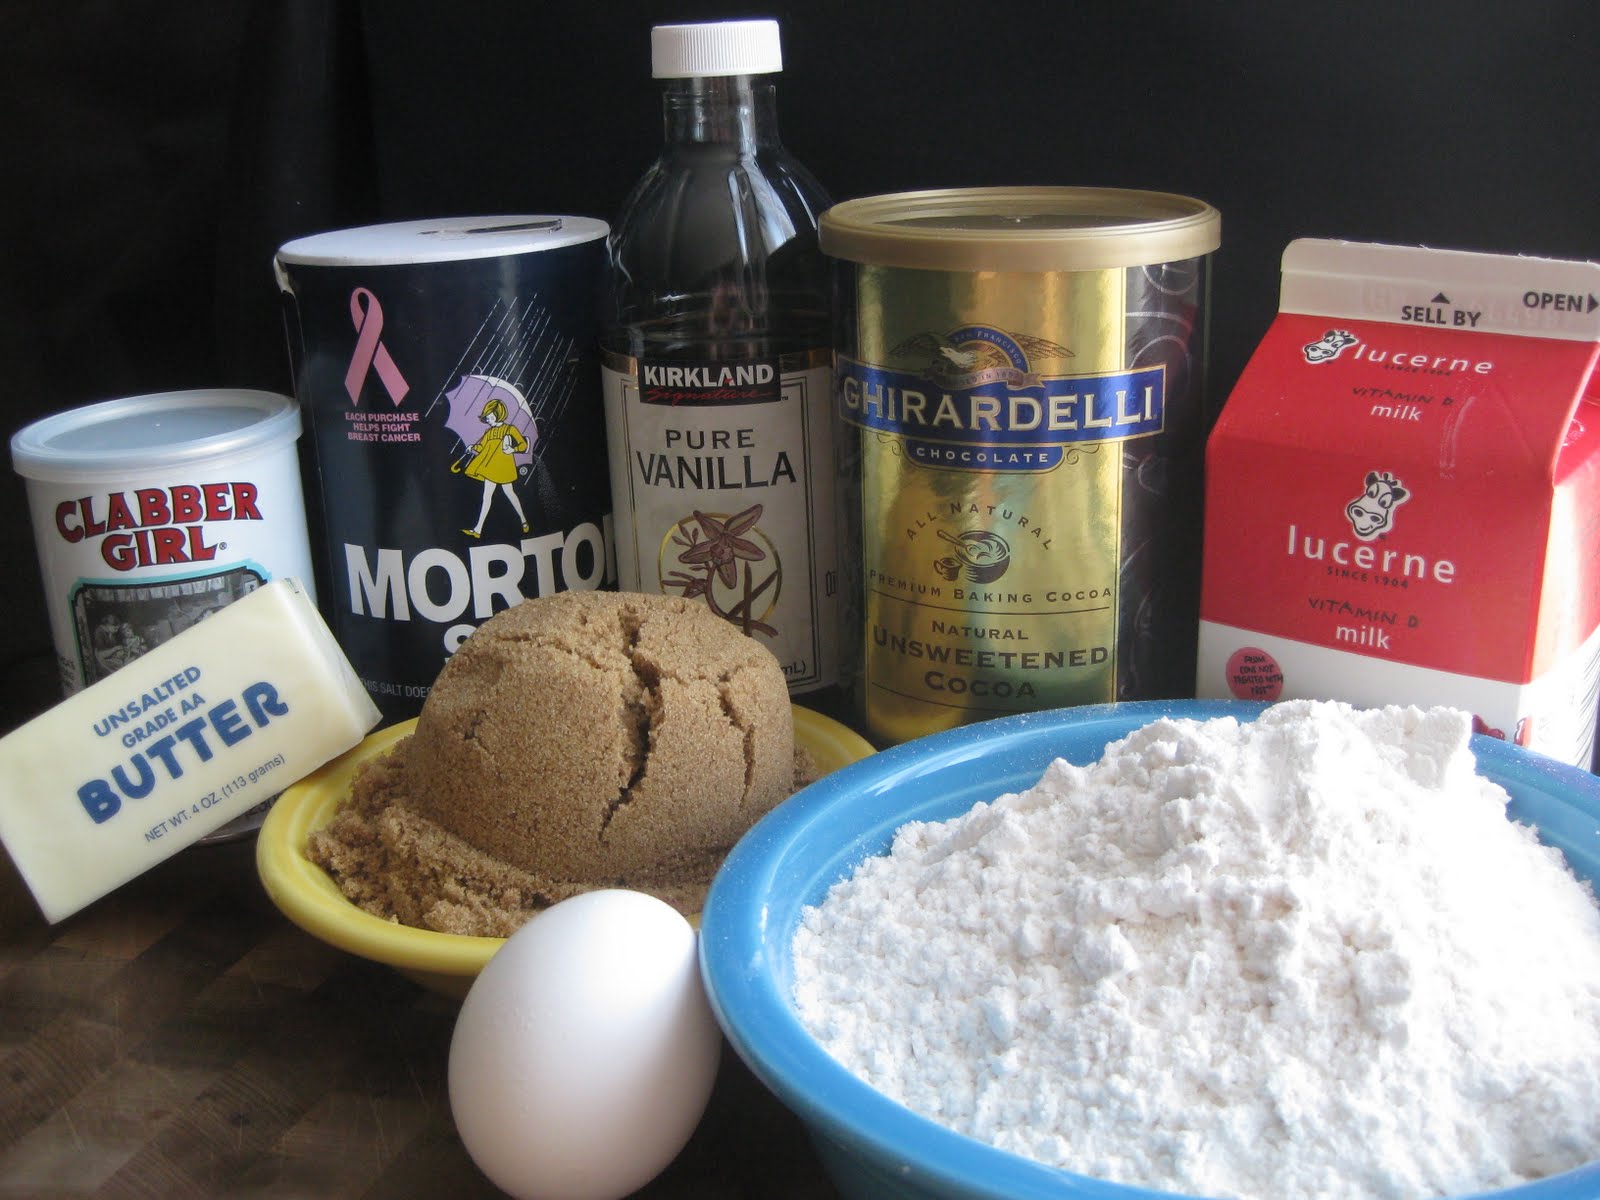 Ingredients...
 Mix according to the recipe until the batter is fluffy and smooth...
 I used a scooper to portion out little balls of batter onto parchment paper lined baking pans...
 While the cake portion was baking I gathered the ingredients for the filling ...
 Once the cakes were baked, I let them cool...
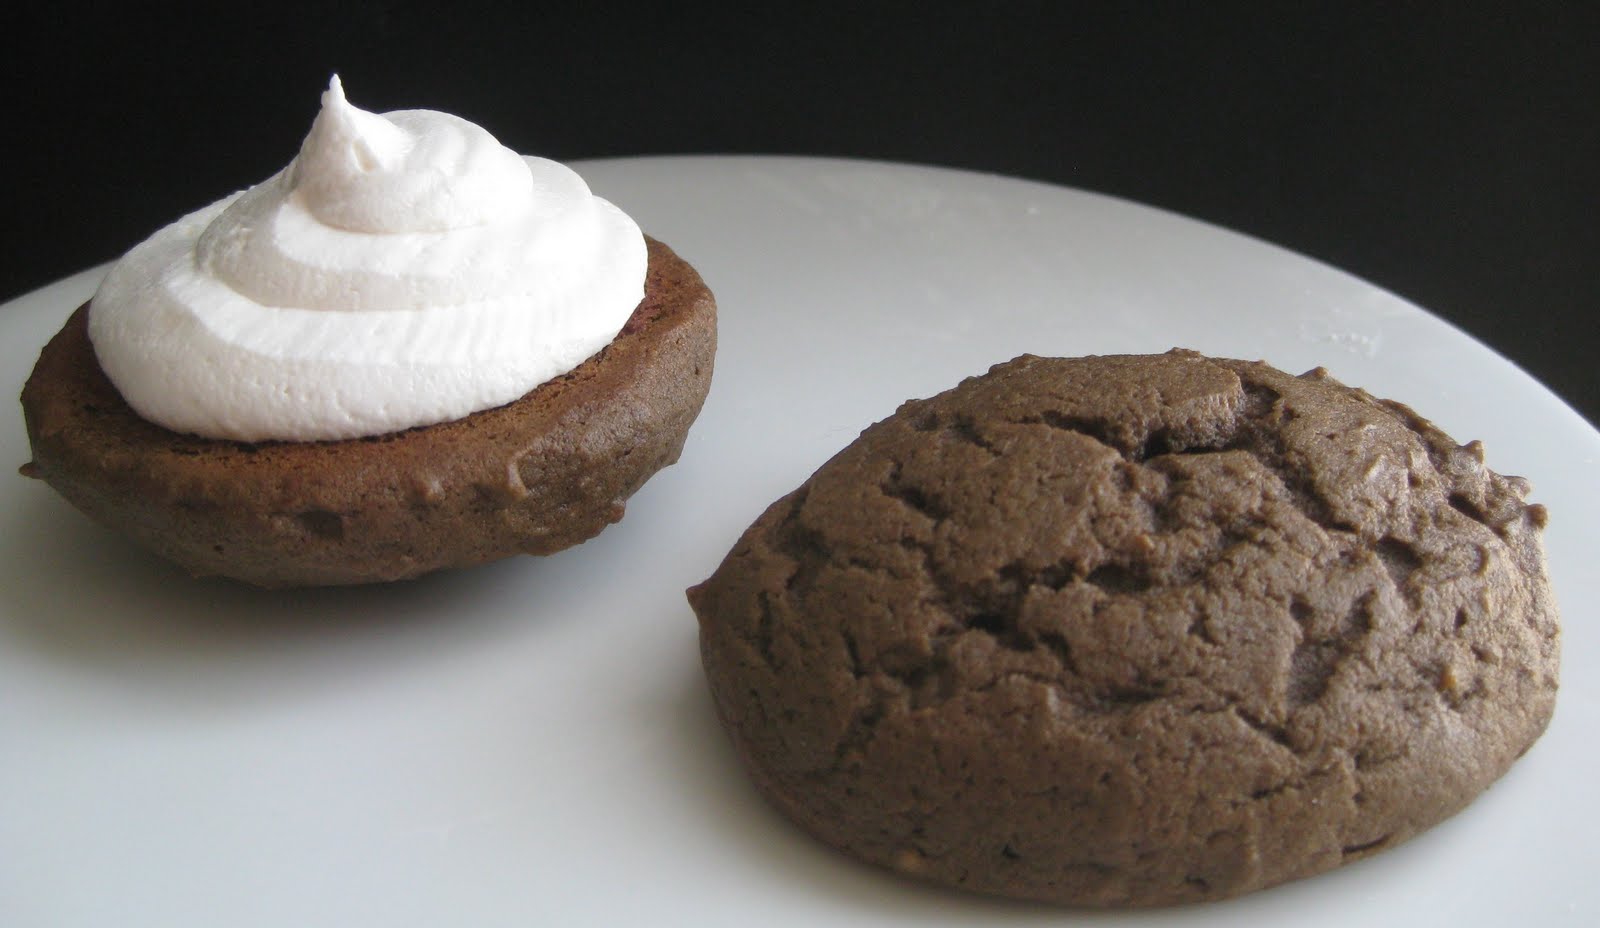 I paired up the cakes by size and piped on the filling...
 Then put the top on and press down gently...
 And repeat until all are filled, then step back and admire...
 And taste ... om nom nom ... Cakey marshmallow-y goodness, in a handy little snack that you can pick up and eat. Perfect for a picnic, a backyard bbq or to pack in your lunchbox for tomorrow. Although I can't guarantee that it will still be there at lunchtime. *Sneaks back to the fridge for another one*


 Posts
Posts


